MrSteve
Zen MBB Master
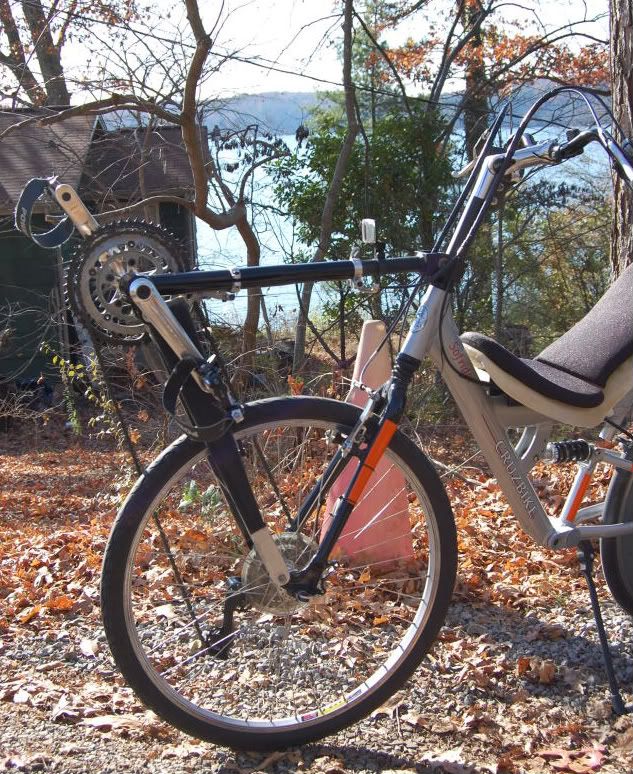
Billy K's thread about testing the flex of his Quest frame is really interesting...
and he wants to see my wooden chainstay... so, Mr. K., this is the best I can do!
My bike has a lot of non-stock parts; I built two of the major pieces.
The seat was built first and that story is in another, older thread.
The chain stay I built was never documented, just mentioned.
I built it for better aerodynamics and, as it turned out, the high
bottom bracket was more comfortable for me and I made a lot more power
with my feet up above my hips.
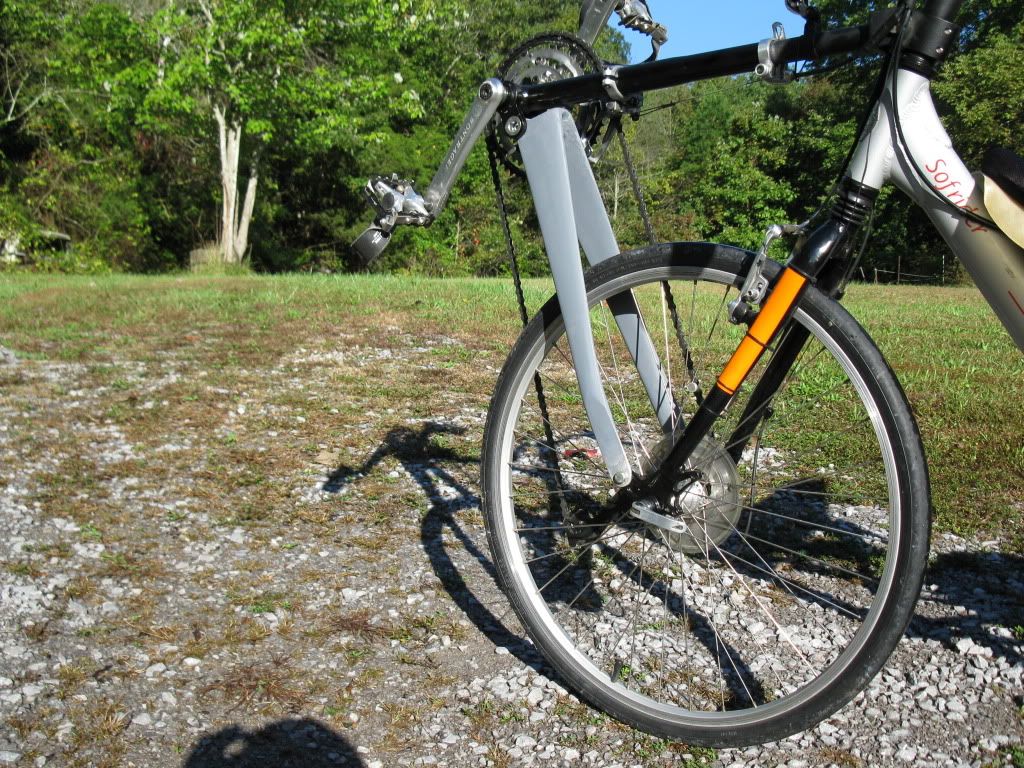
The wood core is a chunk of left-over spruce that ties together the legs of the
chain stay.
It's a leftover from a kayak paddle I'd carved;
another length of that spruce made the spacer for my right pedal.
The legs are softwood, void-free plywood leftovers from my giant subwoofer
project.
I chose plywood because I can rapidly carve a pretty fair airfoil shape with
the plies guiding my progress.
I have a lot of practice, having carved all my paddles, kayaks and stuff, so,
no big deal.
No photos exist of the one-to-one mechanical drawing I used to assemble
the wood pieces, of the carving process or of much of anything useful to anyone else.
Sorry.
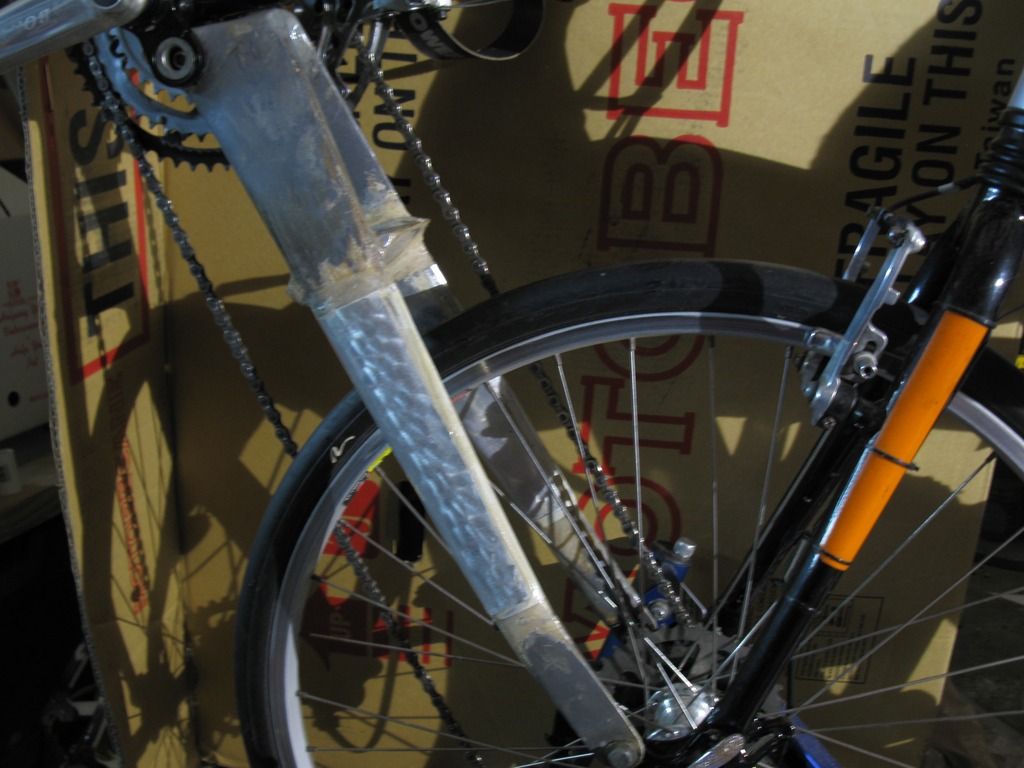
The epoxy resin was left over from a kayak project;
the fiberglass is from the same project.
The aluminum flashing was left over from some tree collars I'd made to
keep raccoons and squirrels out of the bird feeders.
and he wants to see my wooden chainstay... so, Mr. K., this is the best I can do!
My bike has a lot of non-stock parts; I built two of the major pieces.
The seat was built first and that story is in another, older thread.
The chain stay I built was never documented, just mentioned.
I built it for better aerodynamics and, as it turned out, the high
bottom bracket was more comfortable for me and I made a lot more power
with my feet up above my hips.
The wood core is a chunk of left-over spruce that ties together the legs of the
chain stay.
It's a leftover from a kayak paddle I'd carved;
another length of that spruce made the spacer for my right pedal.
The legs are softwood, void-free plywood leftovers from my giant subwoofer
project.
I chose plywood because I can rapidly carve a pretty fair airfoil shape with
the plies guiding my progress.
I have a lot of practice, having carved all my paddles, kayaks and stuff, so,
no big deal.
No photos exist of the one-to-one mechanical drawing I used to assemble
the wood pieces, of the carving process or of much of anything useful to anyone else.
Sorry.
The epoxy resin was left over from a kayak project;
the fiberglass is from the same project.
The aluminum flashing was left over from some tree collars I'd made to
keep raccoons and squirrels out of the bird feeders.