HR Clamps (Silvio 2.0 Manual page 4 )

ratz

Wielder of the Rubber Mallet
On Page 4 of the Silvio 2.0 manual there is listed item no(s): 3, 4, 5.

The diagrams shows Qty 2 plastic clamps being added to the bar of the head rest. Even though the headrest bars are not in the diagram; it seems clear that is the intent.

What exactly are those suppose to do? I have looked at the various picture threads and I do not see any photos that show those bracket being install.

The diagram also shows them installed "nut-side down" which means they have to be installed ahead of the seat pan after which you would not be able to tighten them nor adjust them.
 

ratz

Wielder of the Rubber Mallet
Hi Eric,
Yep that is the


Hi Eric,

Yep that is the other page I looked at. Unfortunatley it doesn't make any sense; because they don't touch anything. The are on the bars, they don't touch the seat pan, they just float there in space, and the screws are wildly too long. Perhaps John can shed some light on what they are there for.
 

Jeremy S

Dude
Bob, my interpretation is

Bob, my interpretation is that there should be two holes in the seat back, and the two clamps should bolt onto those. There are holes in the seatback pictured at the top of page 4. These clamps are a recent addition, my Silvio 2.0 doesn't have them.
 

BentBierz

Well-Known Member
I didn't receive them either

I didn't receive them either and was told they had been eliminated rather than being something new.
 

Eric Winn

Zen MBB Master
My Vendetta 2.0 kit had all

My Vendetta 2.0 kit had all four clamps still included in the packaging back from when the headrest was outside of the frame tube and just clamped to the metal seat for pre v2.0 Vendettas. I used them to clamp the custom Bachetta Brain Box frame I built onto my headrest.

-Eric
 

ratz

Wielder of the Rubber Mallet
That makes sense

Thanks Guys that makes sense. I get nervous when I have Bits and bobs left over.

Phase 1 of the build is done; and the majority of principle photography is done. The progress should be hitting BROL this week as soon as I have time to crop and convert all the photos.


John Tolhurst

Zen MBB Master
The velcro attachment

The velcro attachment functions perfectly okay, but is a little freaky for some. Use the clamps around the headrest tubes and attached to the top of the seat back. But fit them after all your adjustments are done. It gives a nice tight finish to those parts and means we are not fitting nutsets to the frame and having to worry about hole alignments.
 

BentBierz

Well-Known Member
"I'm tempted to go the Matt

"I'm tempted to go the Matt Weaver route and plunk myself down into some wet sand and take a plaster mold of the impression and make a custom carbon seat molded exactly to me. Or maybe considering my current local conditions a freaking cold snowbank..."

Wow Eric, great minds think alike (BTW, I haven't seen Matt Weaver's route...I'll have to do a search for it). I don't have my bike up on a trainer yet but I did sit on it in the garage to put some weight on the seat after applying the Velcro. I held onto the side of my work bench so that I could lift both feet up and pedal backwards. I'm a little concerned as the seat immediately made my back feel uncomfortable in the lower lumbar area where I had surgery. Hopefully once it is on the trainer I can dial everything in better to see if it is going to end up being a problem. I really like the idea of a custom-fitted seat but, before doing that, I am going to make sure that me and MBB are going to play nice.
 

Eric Winn

Zen MBB Master
I'm still using just the

I'm still using just the velcro for the seat and it works fine for me but I'm still fighting with getting just the right fit for myself with the top of my shoulders to the base of my head with the headrest and junction of the seat back and headrest.

I'm getting closer but I'm still not satisfied with it. I'm tempted to go the Matt Weaver route and plunk myself down into some wet sand and take a plaster mold of the impression and make a custom carbon seat molded exactly to me. Or maybe considering my current local conditions a freaking cold snowbank...

I think I've got the extra lumbar support just about right. I had adjusted it too high, then too low, and now I think I've got it just right but it is hard to tell on the trainer because riding it on the road tends to give a little bit different feel.

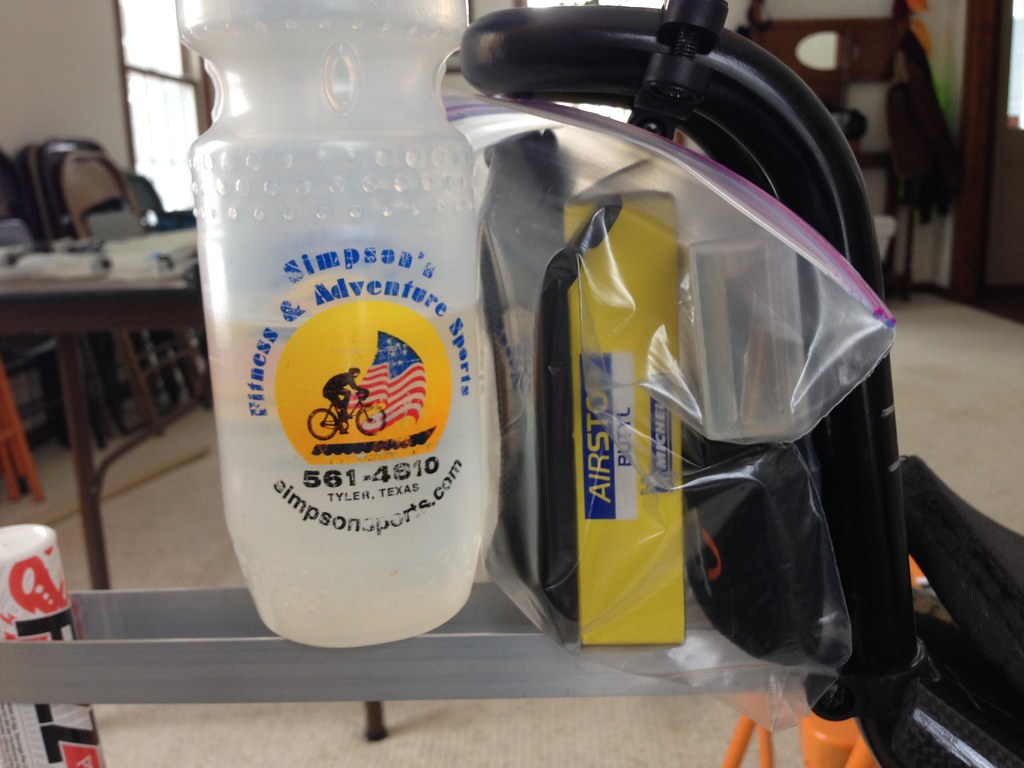
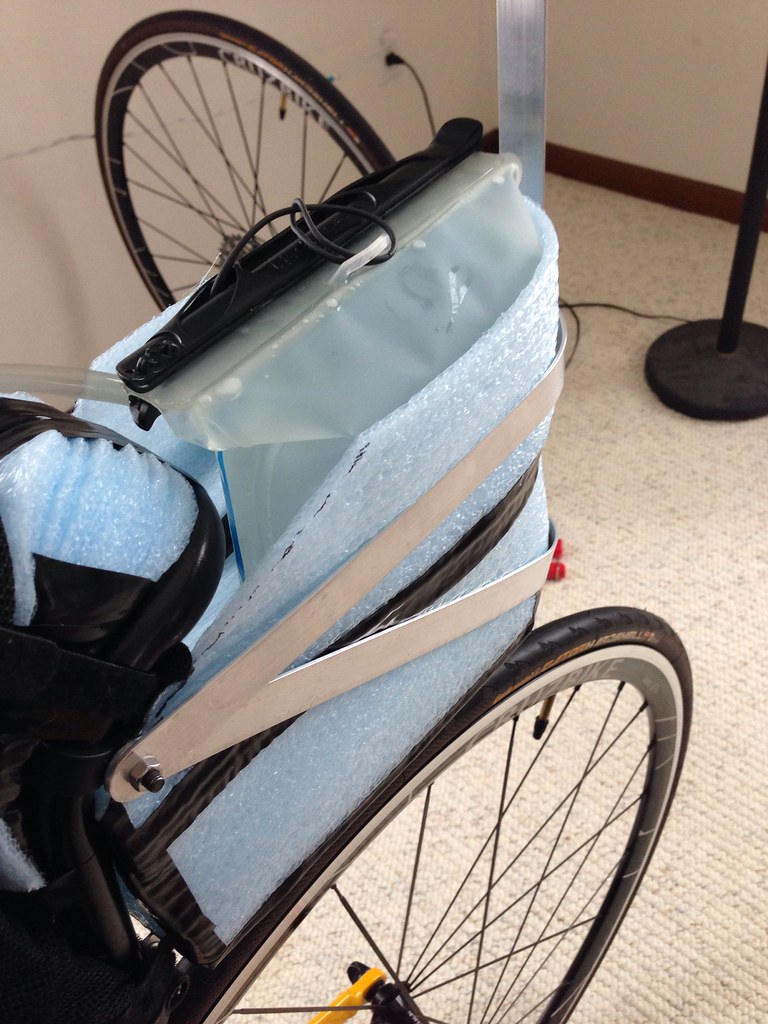
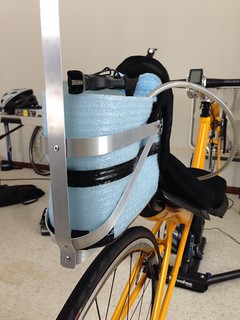
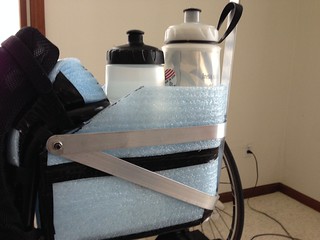
I have replicated John's very light framed double bottle rack in the wind shadow of the headrest and tested it with my 1.5L Hydrapak and it works very well. Turns out the space under the backwards bend of the top of the headrest inside the new rack is the perfect size to hold a spare tube, patch kit, 2 plastic tire irons, pressure gauge, and my mini tool kit - AND inside the lower rack frame rail is the perfect place to stow my mini-pump.

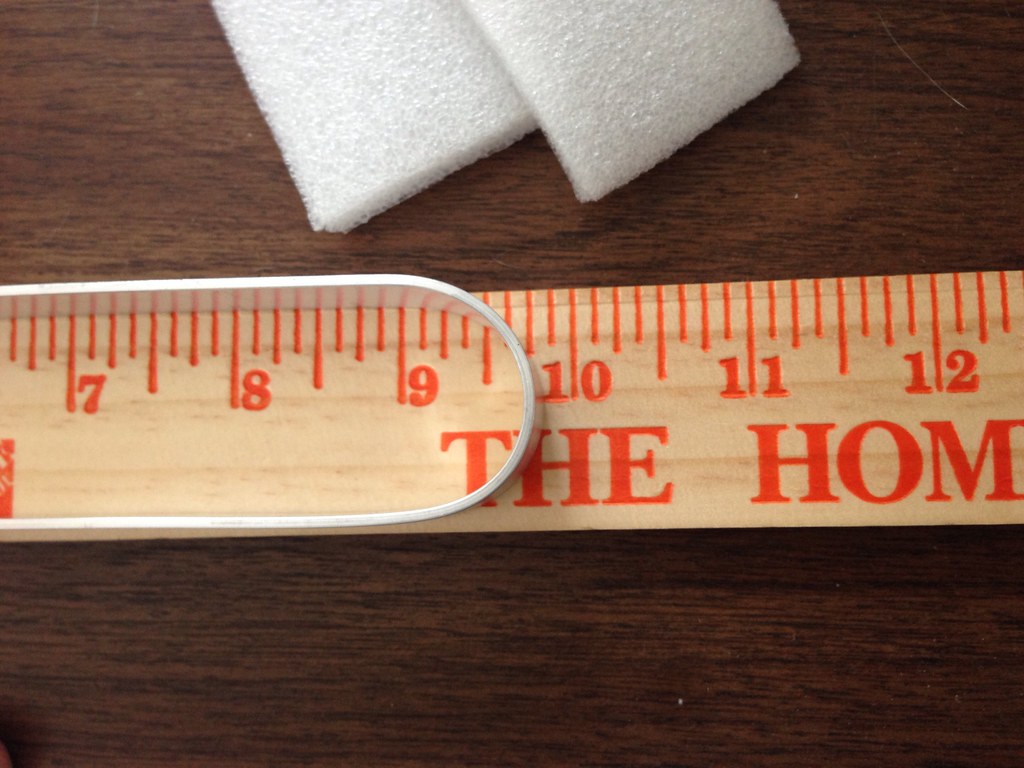
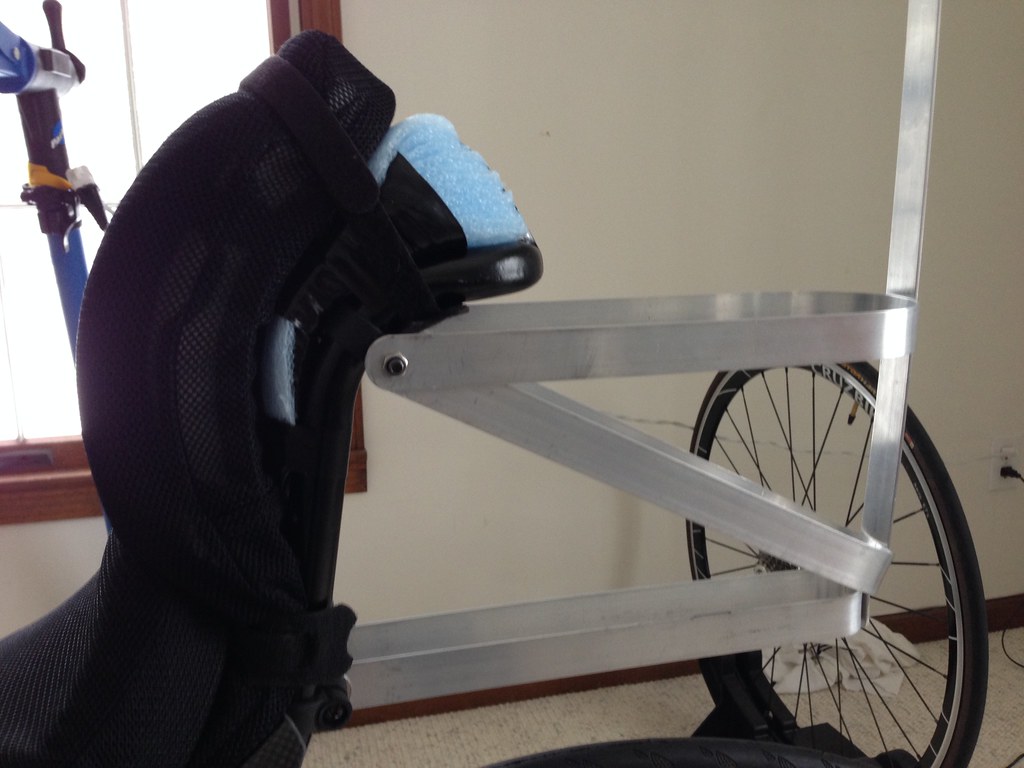
I'm not quite finished with it. Still trying to decide what to do with the vertical aft frame rail. The blue stuff is some lightweight closed cell foam strip roll that I bought at Lowes to experiment with. I'm using it to experiment with headrest padding and I taped together a quick liner - more to protect my Hydrapak although it probably acts a bit like an insulator too.

I will either cover the entire thing like John did with some sort of lycra or other stretchy form fitting cover or just cut some ballistic nylon cloth in the same pattern as the blue liner I threw together. I'll probably sew the blue stuff or something similar inside a nylon shell making a sort of removable pack custom fit to the rack. That way I can lift the entire pack out, including all the contents.

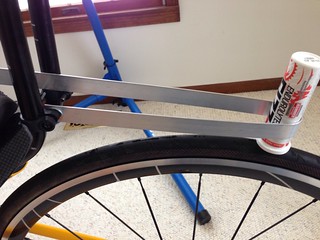
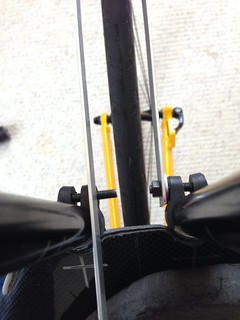
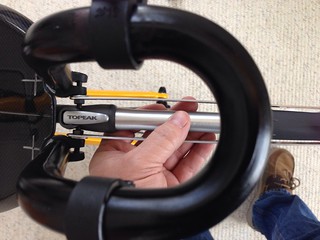
I'm going to rivet two small strips across the bottom frame rail so my mini-pump can just sit inside the rails. I'm also visualizing a custom cloth tool/parts pouch to hold the spare tube and other bits exactly in place to make it easy to pull out, and quickly access whatever I need and then back in the front of the rack such that no loose pieces are just moving around all over the inside of the rack.


Here is the Matt Weaver reference:
" It was formed by going to the beach during low tide, digging a hole in wet sand, sitting in the estimated riding position and packing wet sand around my back. After being lifted out of the "pocket" in the sand, plaster was prepared using water from a nearby rivermouth and poured on the surface of the pocket. From the plaster piece finish molds were prepared The seat is remarkably comfortable and requires no padding whatsoever. "

ref: http://www.speed101.com/words.htm

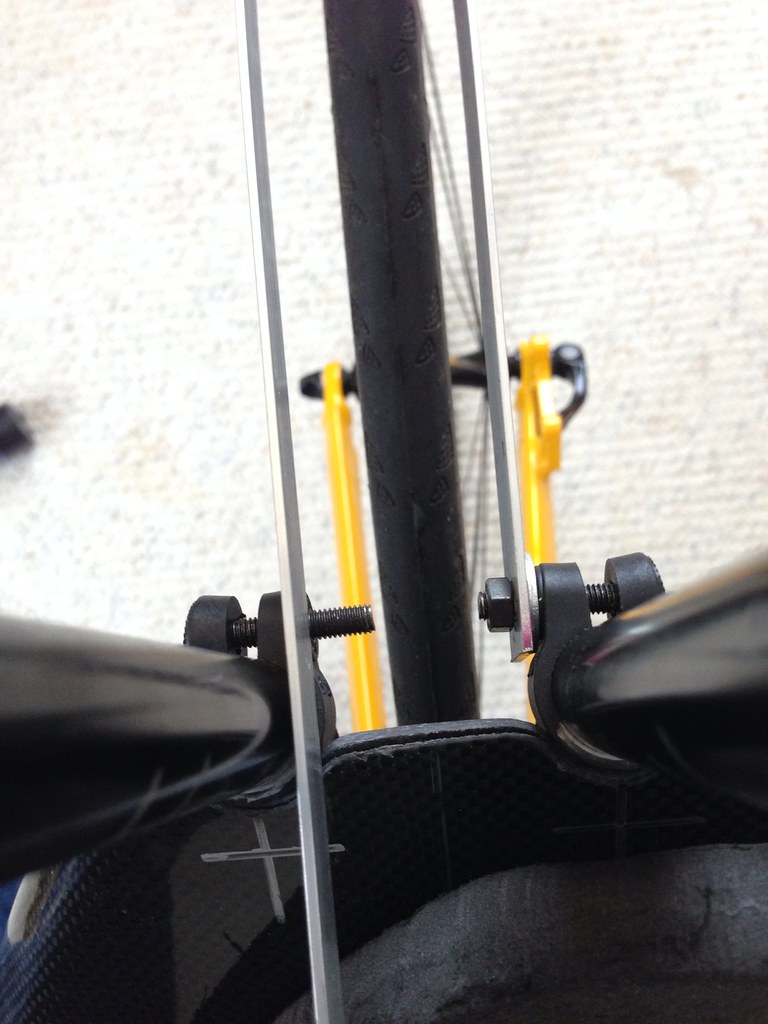
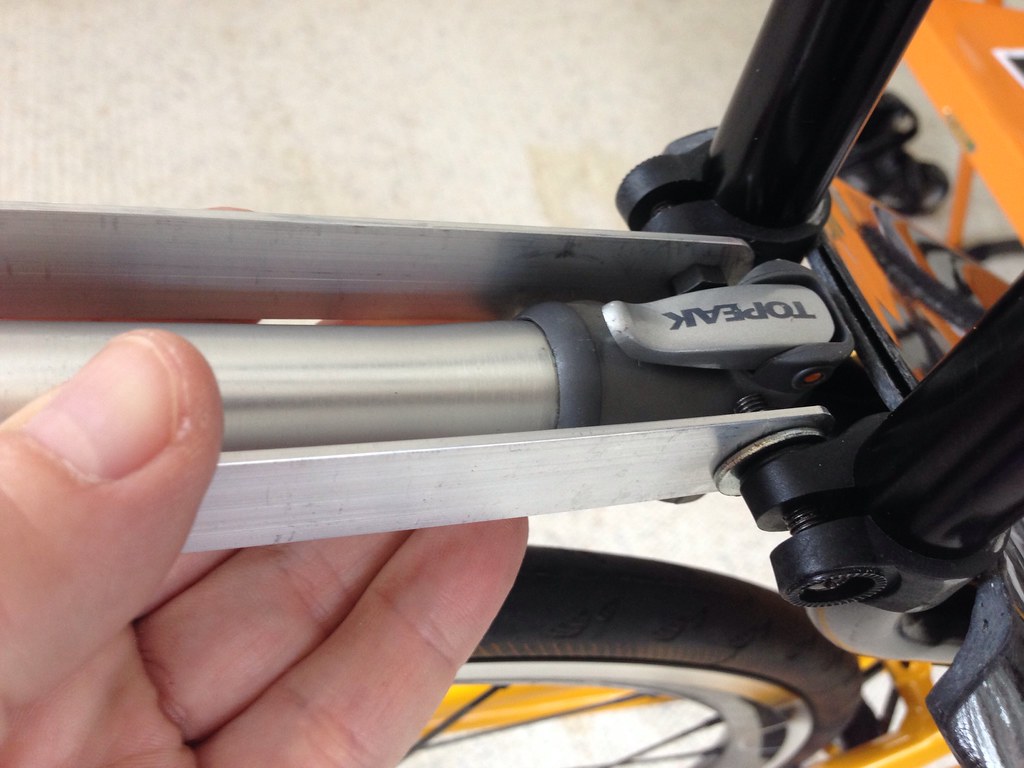
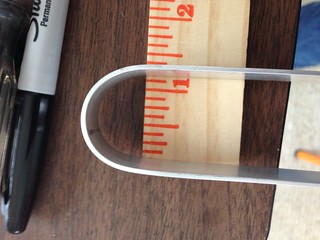
PS - sharp eyes may have noticed I've trimmed the top of my seat back and notched it to allow the headrest frame to run further in. What you can't see is I also lopped a little off the free ends of the headrest tube frame to allow it to be inserted further.

Tall people should NOT do this.
wink_smile.gif


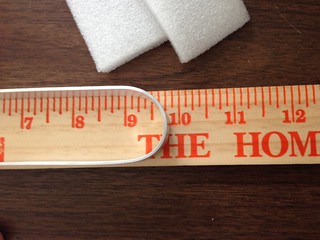
John T. - There is NOT good bonding of the CF lipstick on the fiberglass seat as shown by the delamination at the trimmed end...

-Eric
 
Top