What did you do to your Cruzbike today?

RojoRacing

Donut Powered Wise-guy
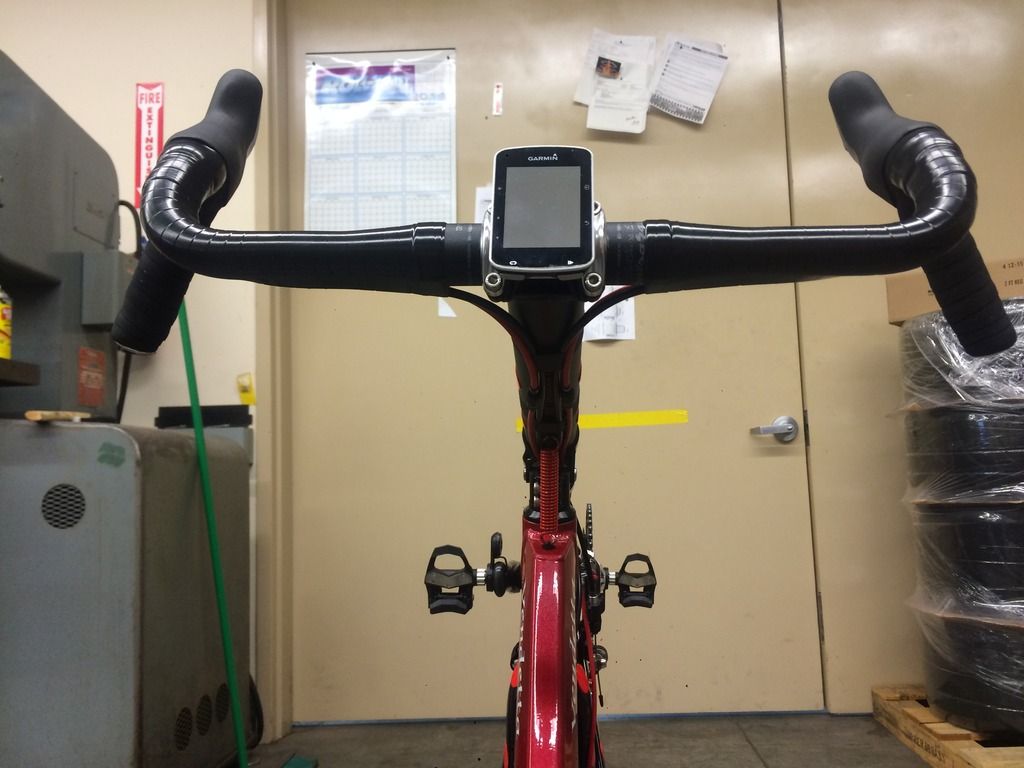
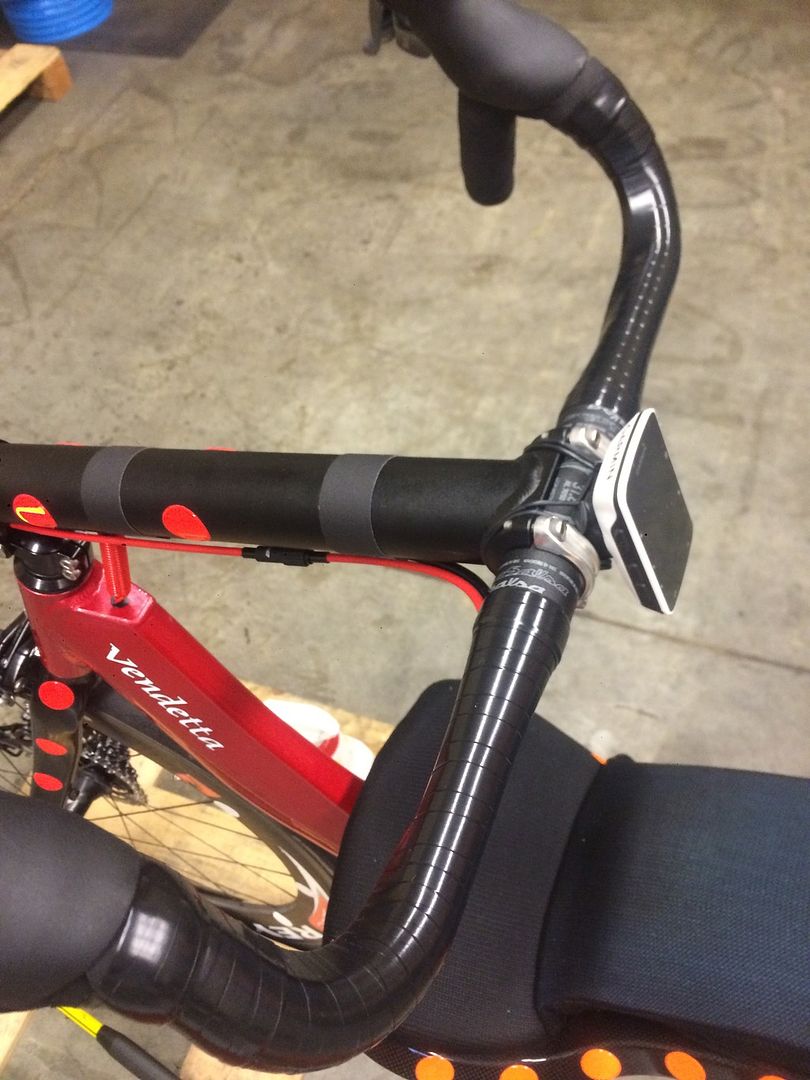
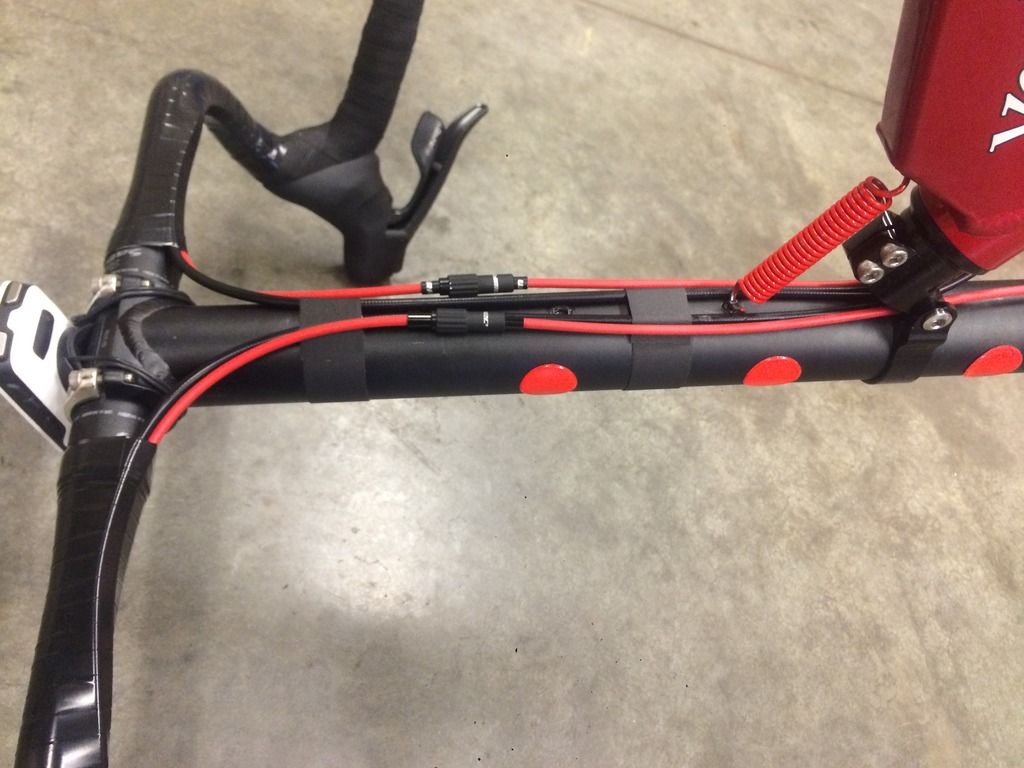
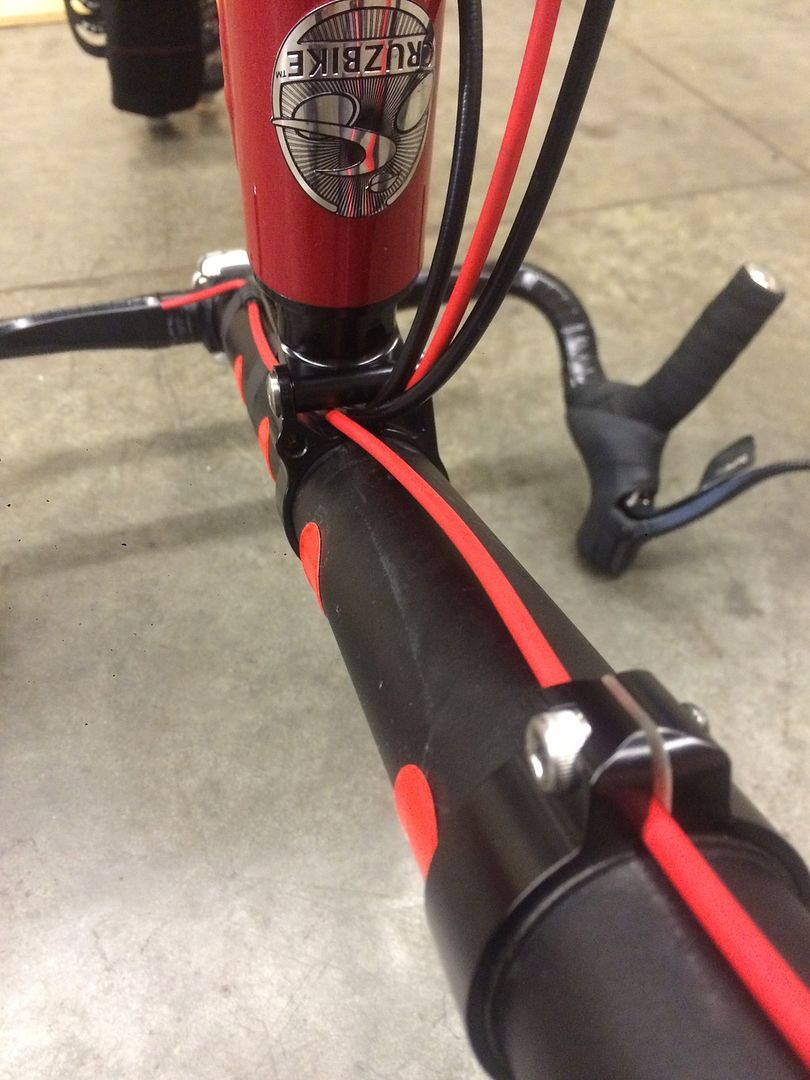
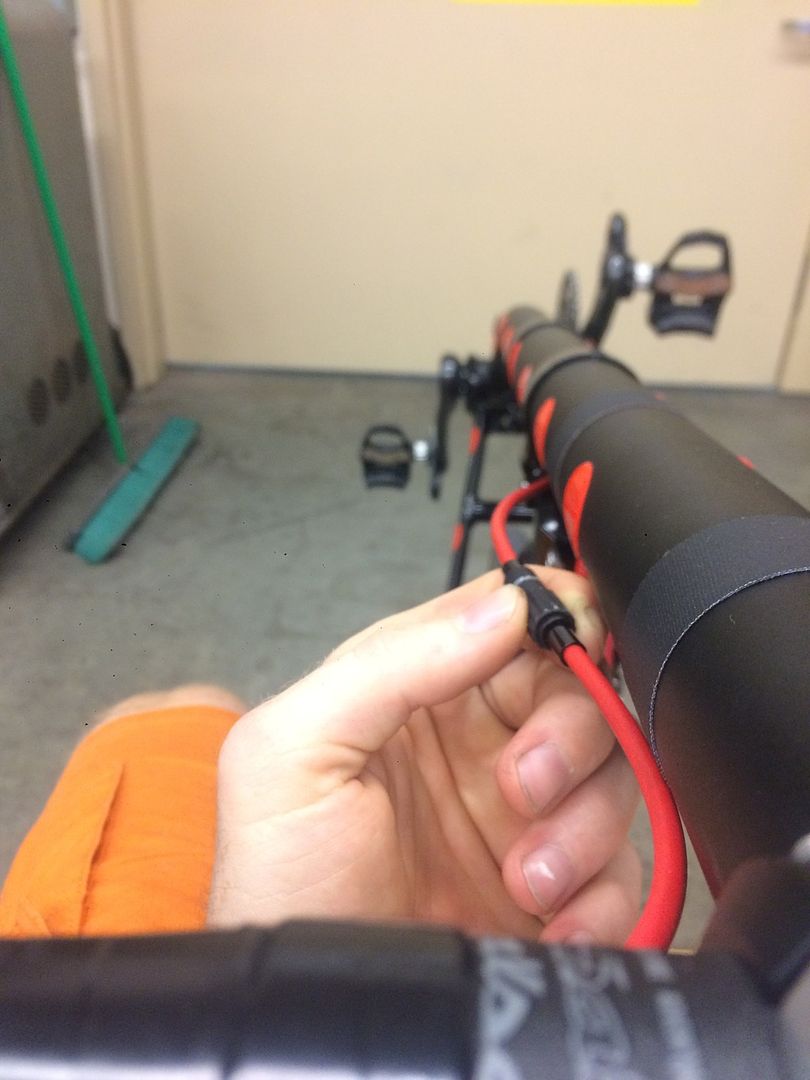
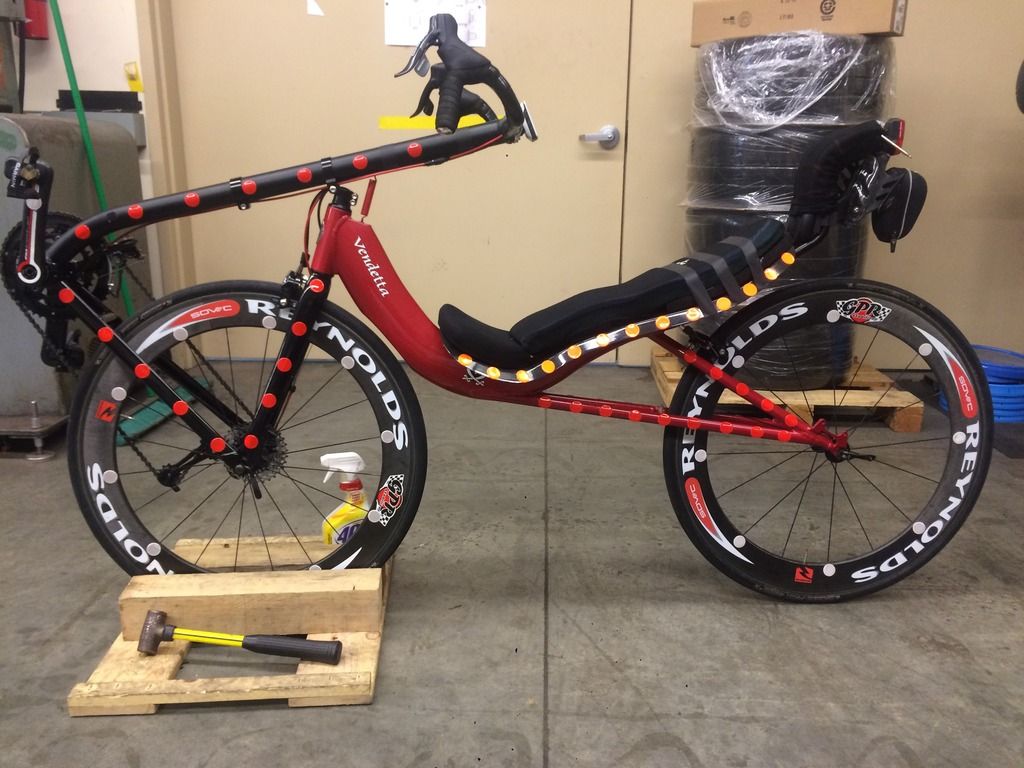
Starting this thread here because it's rather popular on the motorcycle forum I frequent and can be kind of fun seeing other peoples ideas from day to day.

It's simple, did you do something with or to your CruzBike? if yes then fill free to share it. It can be you mounted new tires, changed cables, modified your seat or simply rode to a new location. Post pics of those new tires or that new summit you reached.

Share with the community you mods and feel free to chime in with suggestions. This is a rather open ended thread so don't worry about thread jacking.
 

RojoRacing

Donut Powered Wise-guy
I'll start things off

Today I cut down my steering stem on the Vendetta so I could remove the spacers stacked on top of the stem. Now I can run my cables through the opening in the stem clamp and clean up the cockpit. I also cut down my brakes cables and housing to the correct length after a 1000 miles of adjusting my boom length and general fit. It's nice not having big ol loops of housing hitting my knees. The shifter housing I use is Shimano SP41 which you can buy in bulk for cheap and is pre greased. Over the years I've bought many different flashy cable setups but this simple shimano stuff is just the best and yeah it comes in cool colors as a bonus. I also took the liberty of install two Jarwire inline barrel adjuster positioned right next to the water bottle mount on the boom so I can make fine adjustments to both front and rear as I'm rolling. I Still need to wrap some new bar tape so I'll post pics when I get that done.
 

Robert O

Well-Known Member
Dropped down the hill from home this morning, heading for the train station and freezing my ears off in the 35 degree chill. Hauled home down the valley in the sunshine while basking in the 60 degree dinnertime temps. Any day on a bike is a good day!

Oh, and then I installed a custom strap to keep my seat mounted hydration bag from rubbing the back wheel. Custom fit, as in I tore the black duct tape loop to precisely bridge the gap between my neck rest frame and my fender stays!
 

Robert O

Well-Known Member
I'll start things off

Today I cut down my steering stem on the Vendetta so I could remove the spacers stacked on top of the stem. Now I can run my cables through the opening in the stem clamp and clean up the cockpit. I also cut down my brakes cables and housing to the correct length after a 1000 miles of adjusting my boom length and general fit. It's nice not having big ol loops of housing hitting my knees. The shifter housing I use is Shimano SP41 which you can buy in bulk for cheap and is pre greased. Over the years I've bought many different flashy cable setups but this simple shimano stuff is just the best and yeah it comes in cool colors as a bonus. I also took the liberty of install two Jarwire inline barrel adjuster positioned right next to the water bottle mount on the boom so I can make fine adjustments to both front and rear as I'm rolling. I Still need to wrap some new bar tape so I'll post pics when I get that done.
Hey Jason, where do you get your bulk cable outers?
 

RojoRacing

Donut Powered Wise-guy
Here it is by the meter but I can't say I've every had the choice of per meter before. I normally find it in 10 meter rolls and just add it to make free shipping on some online order.
http://www.chainreactioncycles.com/us/en/shimano-sp41-road-mtb-outer-gear-casing/rp-prod71513

For this latest install of cables I used generic shimano stainless inner cables and the resulting shifting was excellent today. I still mess around with a few other higher end inner cables on the mtb but I can't say I feel much difference.
 

Zzzorse

Zen MBB Master
Recently added this little wedge washer to my FD, based on an old thread at this forum,

http://www.ebay.com/itm/331788860595

wedge.jpg


The angle of my front derailleur on my early Silvio never looked right, and for it to function in the big ring it had to be shoved as far back in the hanger as possible where it did not grip very well and did not want to stay put. Now it shifts correctly every time.

Today I added the 100mm chainstay extension. Much better setup for my long legs. Now I'll get the shifter housing and those barrel adjusters Rojo recommended.

Waxed my new chain today. Larry!

Am a newcomer to cycling, and there being no LBS in my town, am quietly learning from y'all. Thank you.
 
Last edited:

RojoRacing

Donut Powered Wise-guy
Recently added this little wedge washer to my FD, based on an old thread at this forum,

http://www.ebay.com/itm/331788860595

wedge.jpg


The angle of my front derailleur on my early Silvio never looked right, and for it to function in the big ring it had to be shoved as far back in the mount as possible where it did not grip very well and did not want to stay put. Now it shifts correctly every time.

Today I added the 100mm chainstay extension. Much better setup for my long legs. Now I'll get the shifter housing and those barrel adjusters Rojo recommended.

Waxed my new chain today. Larry!

Am a newcomer to cycling, and there being no LBS in my town, am quietly learning from y'all. Thank you.
 

castlerobber

Zen MBB Master
Recently added this little wedge washer to my FD, based on an old thread at this forum,

http://www.ebay.com/itm/331788860595

wedge.jpg


The angle of my front derailleur on my early Silvio never looked right, and for it to function in the big ring it had to be shoved as far back in the mount as possible where it did not grip very well and did not want to stay put. Now it shifts correctly every time.

I've been wondering about this for my Silvio. Does the 1.0 have the same derailleur stalk as the 1.5?
 

RojoRacing

Donut Powered Wise-guy
Today I finished the cleaning up of the cockpit. Trimmed away the extra bar tape on the lower part of my bars because I can't use that area without crashing. I wrapped the cables to the bars with heavy gauge electrical tape to give it a clean look. Also note the cable routing through the boom clamps. I had no idea the front derailleur housing would fit though the hole in the forward clamp till today. I also ditched the big multi position rail mount for the steering stabilizer spring for a tiny rivet nut and stud since I finally have a permanent location. You can also see where I placed the shift cable adjusters for easy on the fly access.

9FB76B38-DFF7-4410-BFFE-700AA700C511_zpsge14gar4.jpg
13F65A2C-0A79-411F-90DD-52C9A9325C6A_zpswsiey82m.jpg
A075285F-2CCA-4B06-A830-5782868C1630_zpswx81ypcm.jpg
D4FA7FB8-D12D-4A2C-A1E3-A1C9754DFCA2_zpsrrrhowyb.jpg
D6B6B859-CB95-4628-A5E6-A83F9AFC8252_zpswyjhjznq.jpg
48BD1299-689E-4BBB-845C-E23136DC6F71_zpsunsnch6m.jpg
 

super slim

Zen MBB Master
Today I finished the cleaning up of the cockpit. Trimmed away the extra bar tape on the lower part of my bars because I can't use that area without crashing. I wrapped the cables to the bars with heavy gauge electrical tape to give it a clean look. Also note the cable routing through the boom clamps. I had no idea the front derailleur housing would fit though the hole in the forward clamp till today. I also ditched the big multi position rail mount for the steering stabilizer spring for a tiny rivet nut and stud since I finally have a permanent location. You can also see where I placed the shift cable adjusters for easy on the fly access.

9FB76B38-DFF7-4410-BFFE-700AA700C511_zpsge14gar4.jpg
13F65A2C-0A79-411F-90DD-52C9A9325C6A_zpswsiey82m.jpg
A075285F-2CCA-4B06-A830-5782868C1630_zpswx81ypcm.jpg
D4FA7FB8-D12D-4A2C-A1E3-A1C9754DFCA2_zpsrrrhowyb.jpg
D6B6B859-CB95-4628-A5E6-A83F9AFC8252_zpswyjhjznq.jpg
48BD1299-689E-4BBB-845C-E23136DC6F71_zpsunsnch6m.jpg
Has ratz been coaching you on mallet usage???

EXTREMELY neat cable routing!!
Was the front derailleur cable outer crushed at all going through the clamp ?
 

bladderhead

Zen MBB Master
Very very very neat. Even the steering retain spring is the right colour. My poor Silvio is scratched, muddy, covered in insulating-tape, wired-on mudguards. And I bet you do more miles than I do. I do not know how you do it.

Day before yesterday: nearly couldn't stop.

Yesterday: undid the nuts on the brakes and pulled the cables a bit tighter.

Today: stoppie.
 

RojoRacing

Donut Powered Wise-guy
Never liked the OEM headrest rail clamp so I made a better one. Now I can loosen the two bolts and slide the headrest in and out without needing to remove the seat pan and fiddle with the clamp because it's binding.

It just two pieces Delrin(expensive plastic) and a single piece of semi flex 1/4 aluminum tubing.
19CBC83B-1A0E-486E-A950-F74BF3A70D7E_zpsls6heek4.jpg

FAA6680F-28FE-4657-BD4C-3959DC65964E_zpsycg9wawp.jpg
 

LarryOz

Cruzeum Curator & Sigma Wrangler
Never liked the OEM headrest rail clamp so I made a better one. Now I can loosen the two bolts and slide the headrest in and out without needing to remove the seat pan and fiddle with the clamp because it's binding.

It just two pieces Delrin(expensive plastic) and a single piece of semi flex 1/4 aluminum tubing.
19CBC83B-1A0E-486E-A950-F74BF3A70D7E_zpsls6heek4.jpg
Nice!
SO you pull the entire thing out when loosened, or am I missing something?
How do the headrest tubes stay in their place in the 2 pieces of Delrin?
 

super slim

Zen MBB Master
Larry i think the two al tubes are purely spacers, and the delrin is pulled towards the frame top by two bolts, with the two seat headrest tubes stopping its movement, and hence clamping the headrest tubes in position, and relying on the friction of Al to Al, and Al to delrin to stop any movement.
 
Top